Wednesday, 22 November 2017

JUICE BOX (RIGGING TECHNIQUES)

Hello everyone, 
This is my second assignment in Rigging techniques, in this assignment we were asked to rig a juice box with different deformers, which helps the box to bend, squash, stretch &  twist. 

Four iconic curves has been created for the rig control :
1. Deform control 
2. Sip control 
 3. Transformation control 
4. COG control 

Deformer control is the main control of the juice box which operates the deformers (Bend, Twist, Stretch & Squash) all the deformer attributes is connected to the respective curve by using Driven key & Node editor. 

Sip control is connected by 2 new attributes & its attached to the Straw for the Sip action & Sip Size, which is affected by the Sculpt Deformer. 

Clean up the Outliner with proper grouping & hide the unwanted attributes. 

Here is the rig test of JUICE BOX

Outliner 

Node editor 

Bend 

Squash 

Stretch 

Twist

Global scale & Rotation

Sip control

Thank you. 


Tuesday, 21 November 2017

BOUNCING BALL (RIGGING TECHNIQUES)

Hello everyone,
 This is my first assignment in Rigging techniques. In this subject we need to take a model and we should rig that model, which helps the animators to animate it. 

In this Assignment we were asked to do a rig of bouncing ball, the basic polygon sphere is taken so it can be animated with stretch & squash. Various methods are there to create the rig. I used the very basic procedure of using a "Squash Deformer". 

So here we need to create three curves as rigging controls. 
Those curves are called as:
1. Stretch & Squash control 
2. Transformation control
3. Center of gravity (COG) Control 

By creating a new attribute for Stretch & Squash curve we can connect the squash deformer by using Node editor. Which help's the respected curve to control the Stretch & Squash. 
Parent & Scale constrain the Transformation & COG curve with the respective group. Lock & hide the unwanted attributes. 

Rig Test

Outliner 

Squash 

Stretch 

Global scale & Rotation 

Thank you. 


Saturday, 16 September 2017

QUADRUPED (CHARECTER MODELING)

QUADRUPED 
Hello everyone, this is our final assignment in Charecter modeling in this Assignment sir had given few Charecter images in those images we needed to select any Charecter & we should model the same. 
Among those images i choosen this Doggy Charecter to do as my final assignment. Even this model is done by the Autodesk maya software and i unwrapped this model & shared to the Adobe photoshop to texture it. 
And this is my final render output which i got and i posted turn arounds of the model. And even i posted the wire frame Render and Unwrapped screenshot which helps to see the topology of the Charecter. 
And mainly i like to Thank our Satish Sir,who guided me & helped me out to come up with this output. 
It was really nice experience and i enjoyed it. 
Thank you. 

Wire frame rendered image 

Screenshot of UV Layout 

Reference image


FRANK (CHARECTER MODELING)

FRANK THE POSTMAN
Hello everyone, 
This is our 2nd assignment in Charecter modeling this is a famous character called Frank we asked to do the same model & texture the same i almost tried it and this model is done by the help of Autodesk maya software and this model is rendered by Mentalray. 
I posted turn around rendered images of both model aswell as wire frame render. I guess you people have liked it. 
Thank you. 

Wire frame Renderd image 


Reference image 


BRUCE (CHARECTER MODELING)

BRUCE THE SHARK
Hello everyone, this is my 1st assignment of  Charecter modeling this model is done by taking reference of the Charecter name called Bruce. 
This 3D model is done by Autodesk maya software we were asked to create a model by seeing the reference image which is given by our Sir. 
And i almost tried to match it & this is my final render output. I guess you people have liked it. 
Thank you. 


Reference image 


TOOL TEXTURING

Hello everyone, 
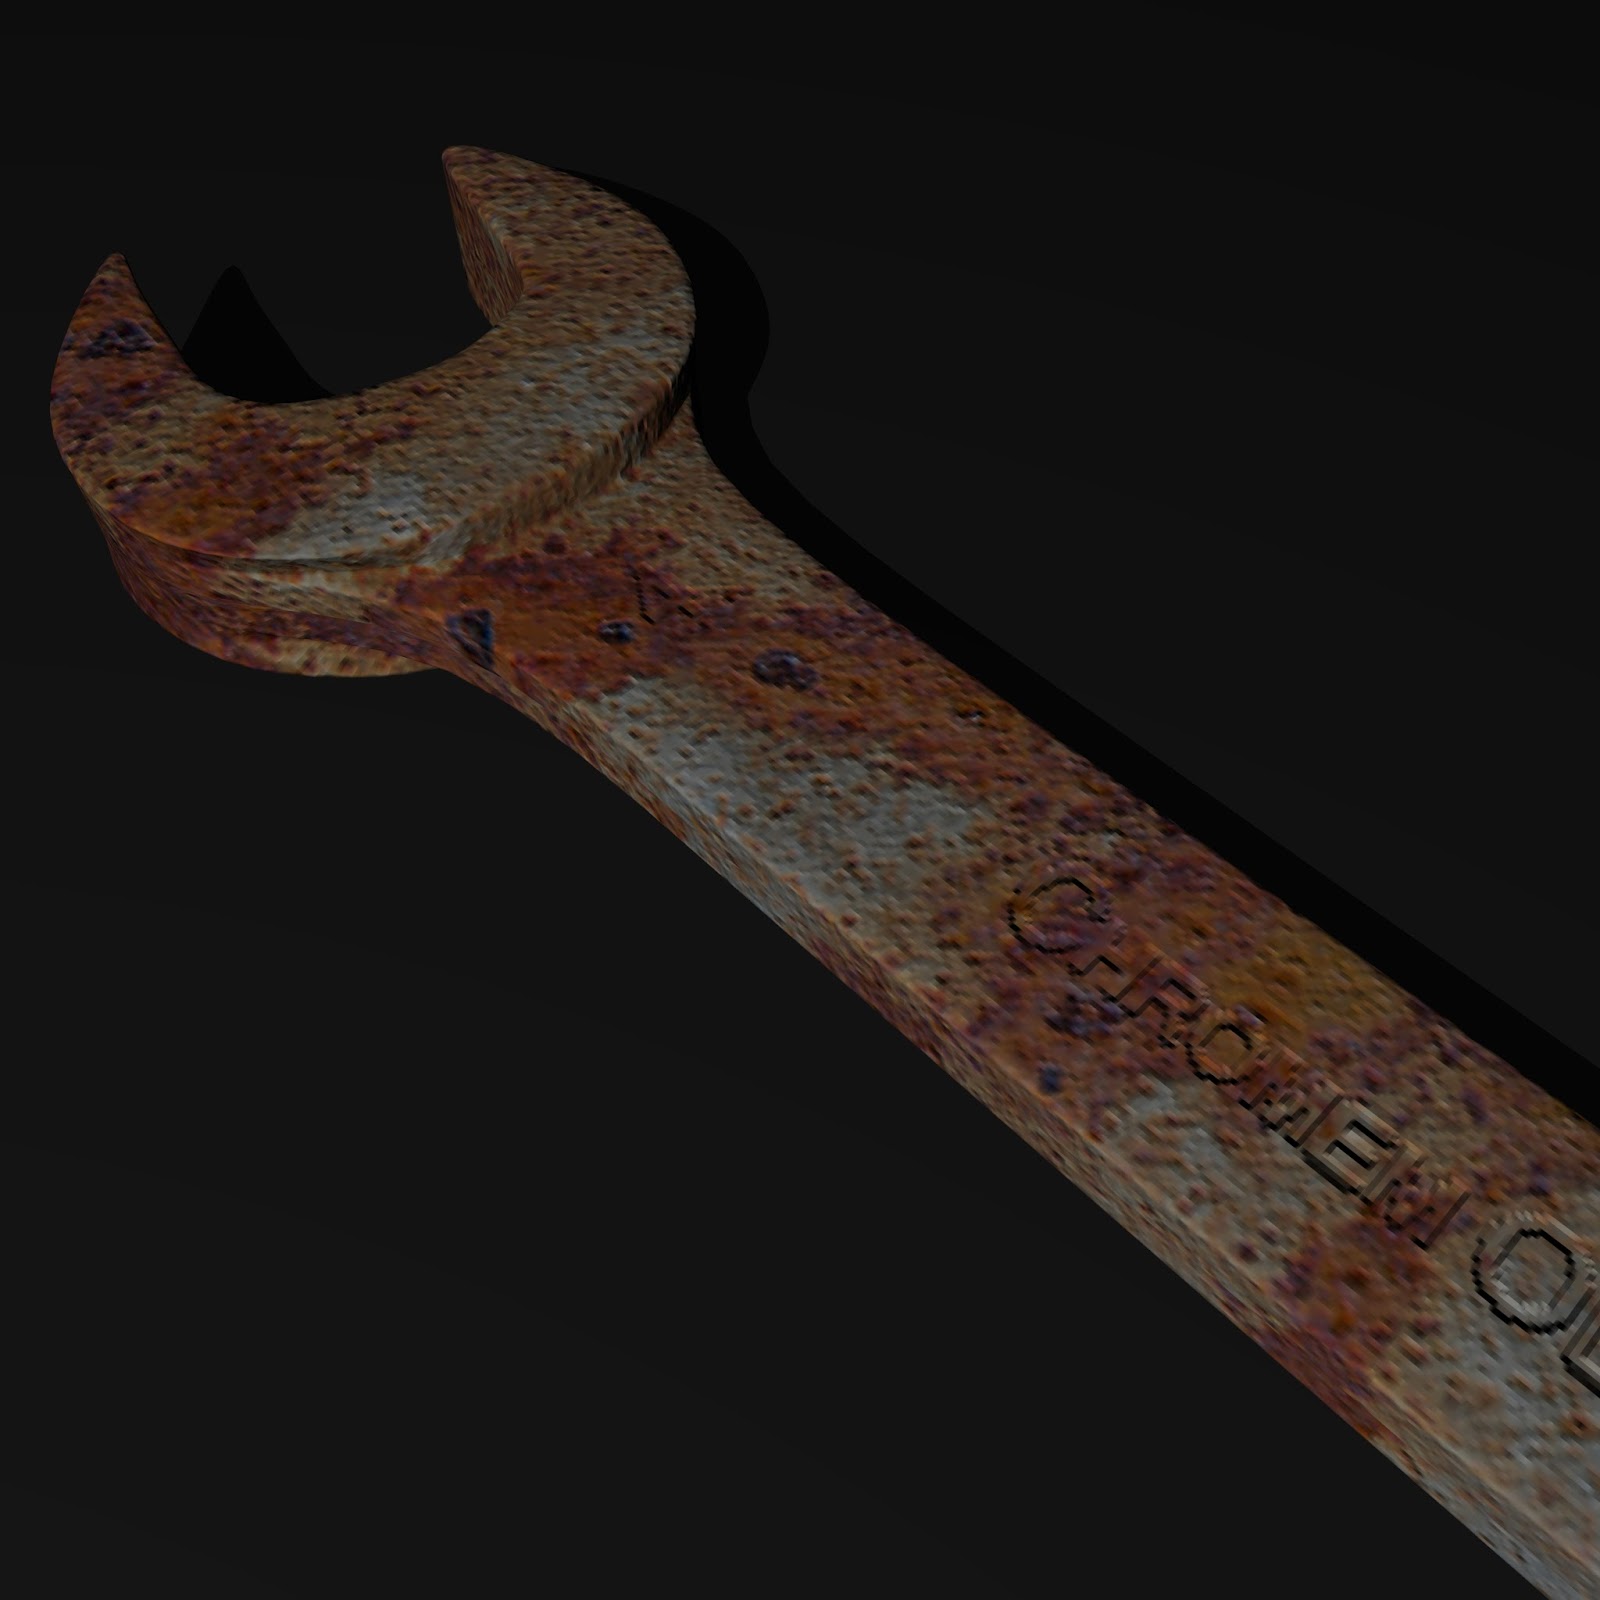
This is an assignment of Texturing and materials. In this Assignment we needed to creat a model of any tool & we should unwrap it and should texture it like a photo realistic this method of texturing is called as 'Oclusion and baking'  method this unwrap file is linked and textured in photoshop by using Psd network colouring and bump techniques. 
This image is rendered by mentalray and this is my final output of this assignment.
And even i uploaded UV Layout screenshot.  
Thank you.  


UV Layout 

Baked image 

FACE UNWRAPPING

Hello everyone, 
This is one of the assignment of texturing and materials in this Assignment we needed to unwrap any part of the Charecter and should give the checker texture so i choosen the Frank's face to unwrap and this is my final render output. And even i posted UV Layout. Screenshot. 
Thank you.